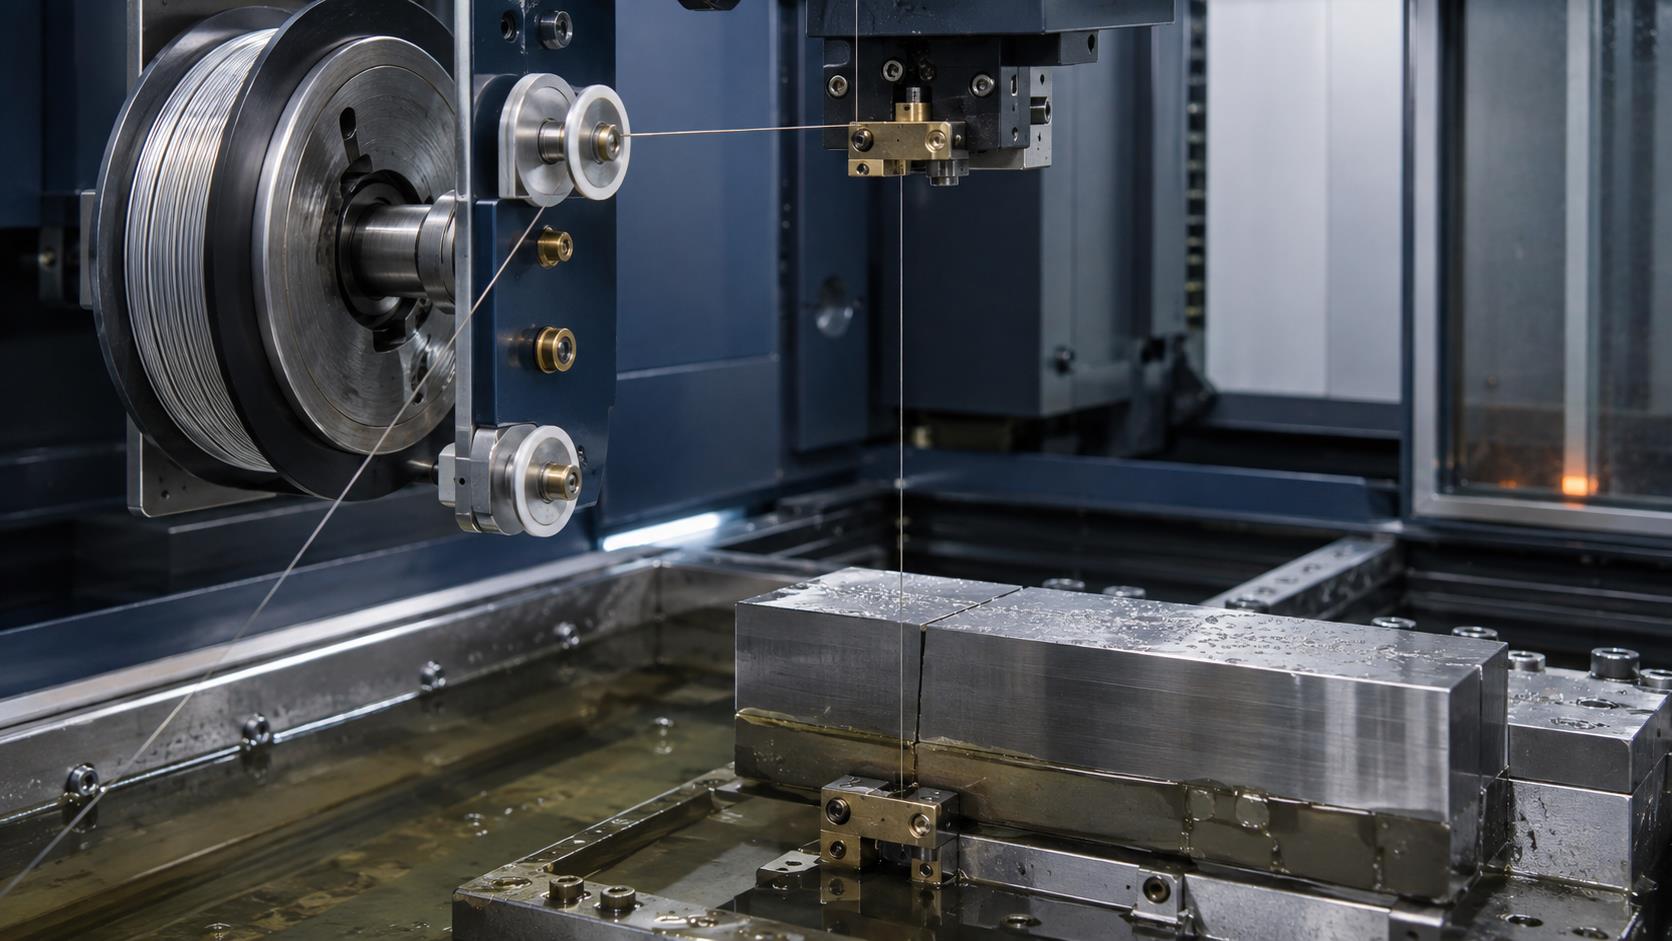
Continuous electrode wire operation is essential for stable Wire EDM machining. Unexpected wire breakage interrupts cutting, requires rethreading, may leave marks on the workpiece and can increase downtime or scrap risk.
Wire breaks can result from interacting electrical, mechanical, material, fluid and operating conditions. This guide provides a systematic Wire EDM troubleshooting method based on practical machining experience.
1. Electrical Parameters and Pulse Power
1.1 Control Discharge Energy
Higher pulse energy increases resistance heating in the electrode wire and reduces its effective tensile strength. Match current and pulse settings to the wire and workpiece.
1.2 Increase Pulse Interval
A longer pulse interval can help molten particles leave the gap. Avoid excessive peak current and open-circuit voltage that may create concentrated discharge or arcing.
1.3 Maintain the Discharge Gap
A gap that is too small promotes short circuits, weak cooling and poor debris removal. Thick workpieces may require parameters that establish a larger stable gap.
1.4 Watch for Burned Spots
Debris adhesion can concentrate discharge, cause local heating and attract more debris until the wire burns through.
2. Wire Transport Mechanism
Reduced transport accuracy increases wire vibration, disrupts the spark gap and can create concentrated high-current discharge. Run the wire without cutting and investigate abnormal movement before machining.
2.1 Storage Drum
Inspect shafts, bearings and clearances for radial runout, axial movement, slack or overlapping wire layers.
2.2 Limit and Wire Stops
Adjust rear travel limits correctly. Replace stop blocks when friction grooves can pinch the moving wire.
2.3 Guides and Conductive Blocks
Check guide-wheel bearings, V-grooves, jewel guides and conductive blocks for rough motion, wear grooves and excess friction.
3. Electrode Wire Selection and Condition
3.1 Wire Material
Molybdenum wire offers wear resistance, tensile strength and low brittleness for high-speed reciprocating Wire EDM. Tungsten wire can machine quickly but becomes brittle after discharge. Tungsten-molybdenum wire can improve life and speed at higher cost.
3.2 Wire Diameter
The source cites 0.06 to 0.25 mm, with 0.12 to 0.18 mm common. Thin wire reaches fine features but carries less current and breaks more easily. Use a larger diameter where geometry permits.
3.3 Replace Worn Wire
Reciprocating wire loses diameter through repeated use. The source recommends replacement after a reduction of about 0.03 to 0.05 mm from new size.
3.4 Maintain Correct Tension
Loose wire vibrates; excessive tension adds tensile stress. Check tension regularly and use the correct counterweight on automatic systems.
3.5 Optimize Wire Speed
Excessive speed increases vibration, while very low speed can restrict debris removal. Balance travel speed with stable discharge and flushing.
3.6 Reduce Initial Current
The source recommends moderately reducing current when new wire still has a black oxide surface, then restoring normal settings after the wire becomes bright.
4. Workpiece-Related Wire Breakage
4.1 Residual Stress
Improper forging or heat treatment can leave stress that closes the kerf, deforms the part or pinches the wire. Apply qualified stress relief where appropriate.
4.2 Non-Conductive Impurities
Inclusions can cause repeated short circuits. The source suggests a repeated advance of about 0.05 to 0.1 mm and retract of about 0.5 to 1 mm, with increased flushing.
4.3 Thick Aluminum
Conductive-block wear can increase friction and pull the wire apart. Inspect and replace the block when wear becomes excessive.
4.4 Thin Workpieces
Parts about 3 mm or thinner provide little fluid damping. Reduce pulse energy or add auxiliary material to increase effective cutting thickness.
4.5 Thick Workpieces
For parts above about 100 mm, support the cut-off section near completion so it cannot fall and strike the wire.
4.6 Residual Magnetism
Demagnetize after surface grinding. Magnetic debris accumulation can cause uneven feed, short circuits and unstable discharge.
5. Wire EDM Working Fluid
5.1 Fluid Condition
Contaminated or degraded fluid reduces cutting stability. The source experience reports strong performance after about two days of use and increased breaks after about 8 to 10 days under eight-hour daily operation. Actual intervals depend on condition.
5.2 Concentration
For higher cutting speeds or thick workpieces, the cited guidance recommends a lower concentration of about 5% to 8% under the described conditions.
5.3 Water Quality
Purified water may provide more stable fluid performance than ordinary tap water, depending on local water chemistry and fluid specifications.
6. Operator Practices
6.1 Avoid Wire Kinks
A local kink reduces tensile strength and thermal-load capacity. Install and thread the electrode wire carefully.
6.2 Clean Process Holes
Remove oil, burrs and non-conductive contamination before automatic center finding so the wire can generate the expected contact spark and reverse safely.
6.3 Monitor Manual Feed
During manual cutting, watch the ammeter and avoid feed that exceeds normal cutting or frequency-conversion speed.
7. Wire EDM Wire Breakage Troubleshooting Guide
| Cause | Common problem | Practical solution |
|---|---|---|
| Electrical parameters | Excess energy or concentrated arcing | Optimize pulse interval, current, voltage and gap |
| Wire transport | Vibration and unstable movement | Inspect drum, bearings, guides and stops |
| Wire material | Insufficient strength or brittleness | Select suitable molybdenum, tungsten or W-Mo wire |
| Wire diameter | Wire too thin | Use a larger diameter when geometry allows |
| Wire wear | Diameter reduced after reuse | Replace after excessive loss |
| Wire tension | Too loose or too tight | Maintain appropriate tension |
| Wire speed | Vibration or poor debris removal | Balance wire travel speed |
| Workpiece stress | Deformation or kerf closing | Relieve residual stress before cutting |
| Impurities | Repeated short circuits | Use retracting feed and improve flushing |
| Thin workpiece | Insufficient damping | Reduce pulse energy or increase effective thickness |
| Thick workpiece | Cut-off section strikes wire | Support the part near completion |
| Magnetism | Debris accumulates in kerf | Demagnetize after grinding |
| Working fluid | Contamination or poor performance | Control concentration and replace when needed |
| Operation | Kinked wire or excessive feed | Standardize threading and monitor current |
8. How to Prevent Wire Breakage
| Check | Question before critical Wire EDM cutting |
|---|---|
| 8.1 | Do the electrical parameters match workpiece thickness and wire capacity? |
| 8.2 | Does the transport system run smoothly without excessive vibration? |
| 8.3 | Are wire material, diameter, tension and speed suitable? |
| 8.4 | Has workpiece residual stress and magnetism been controlled? |
| 8.5 | Can debris leave the discharge gap effectively? |
| 8.6 | Is the working fluid clean and at the correct concentration? |
| 8.7 | Was the wire installed without kinks or local damage? |
Wire EDM Wire Breakage FAQ
What is the most common cause of Wire EDM wire breakage?
No single cause applies to every case. Excess discharge energy, poor debris removal, transport vibration, incorrect tension and worn wire are frequent contributors.
Does thicker electrode wire reduce breakage?
Usually it carries more current and tolerates more tension, but the selected diameter must still fit the required kerf, corner radius and feature size.
Why does residual stress break the wire?
Stress release can deform the workpiece or close the kerf, allowing the material to pinch or strike the electrode wire.
When should Wire EDM working fluid be replaced?
Replace it according to contamination, concentration and machining performance rather than time alone, while following the fluid supplier''s requirements.
Need Precision Wire EDM Components?
Zentoc provides precision machining and custom manufacturing supported by controlled Wire EDM processes and quality inspection.
Contact Zentoc