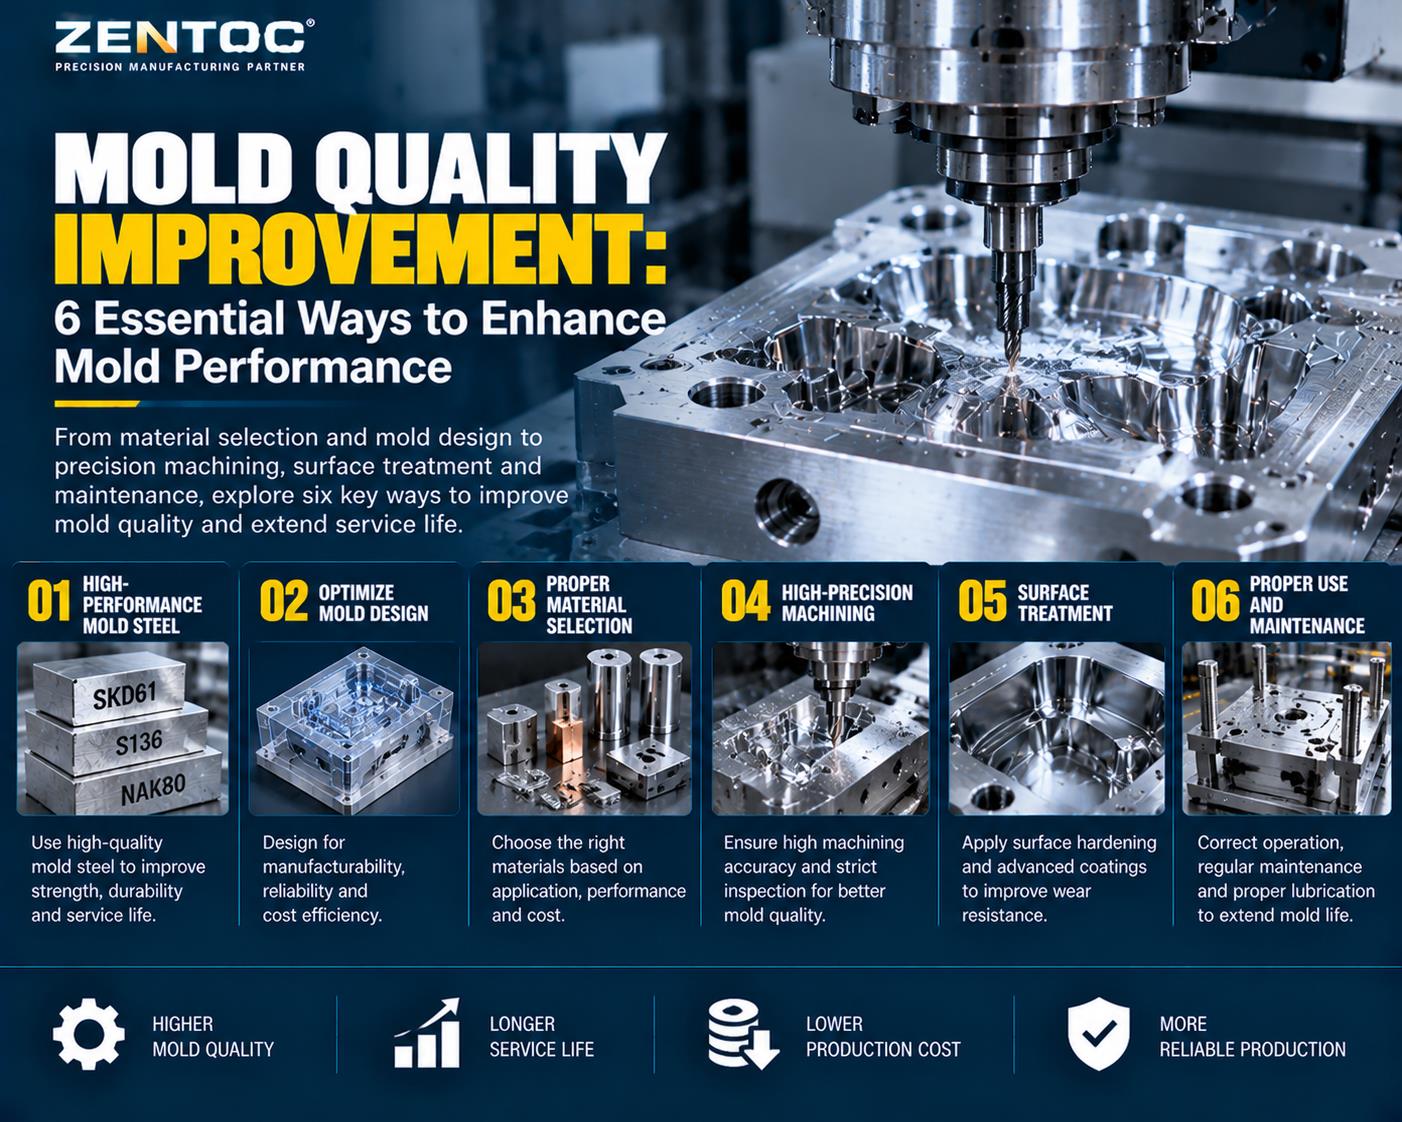
Customers increasingly require precision mold parting surfaces with no signs of manual grinding, polishing or hand finishing. Meeting this standard depends on more than an accurate CNC machine. It reflects mold design, equipment, process control, quality assurance and manufacturing experience.
This guide focuses on controlling machining-induced stress and deformation so the final mold parting surface can be produced by measurable, repeatable CNC machining.
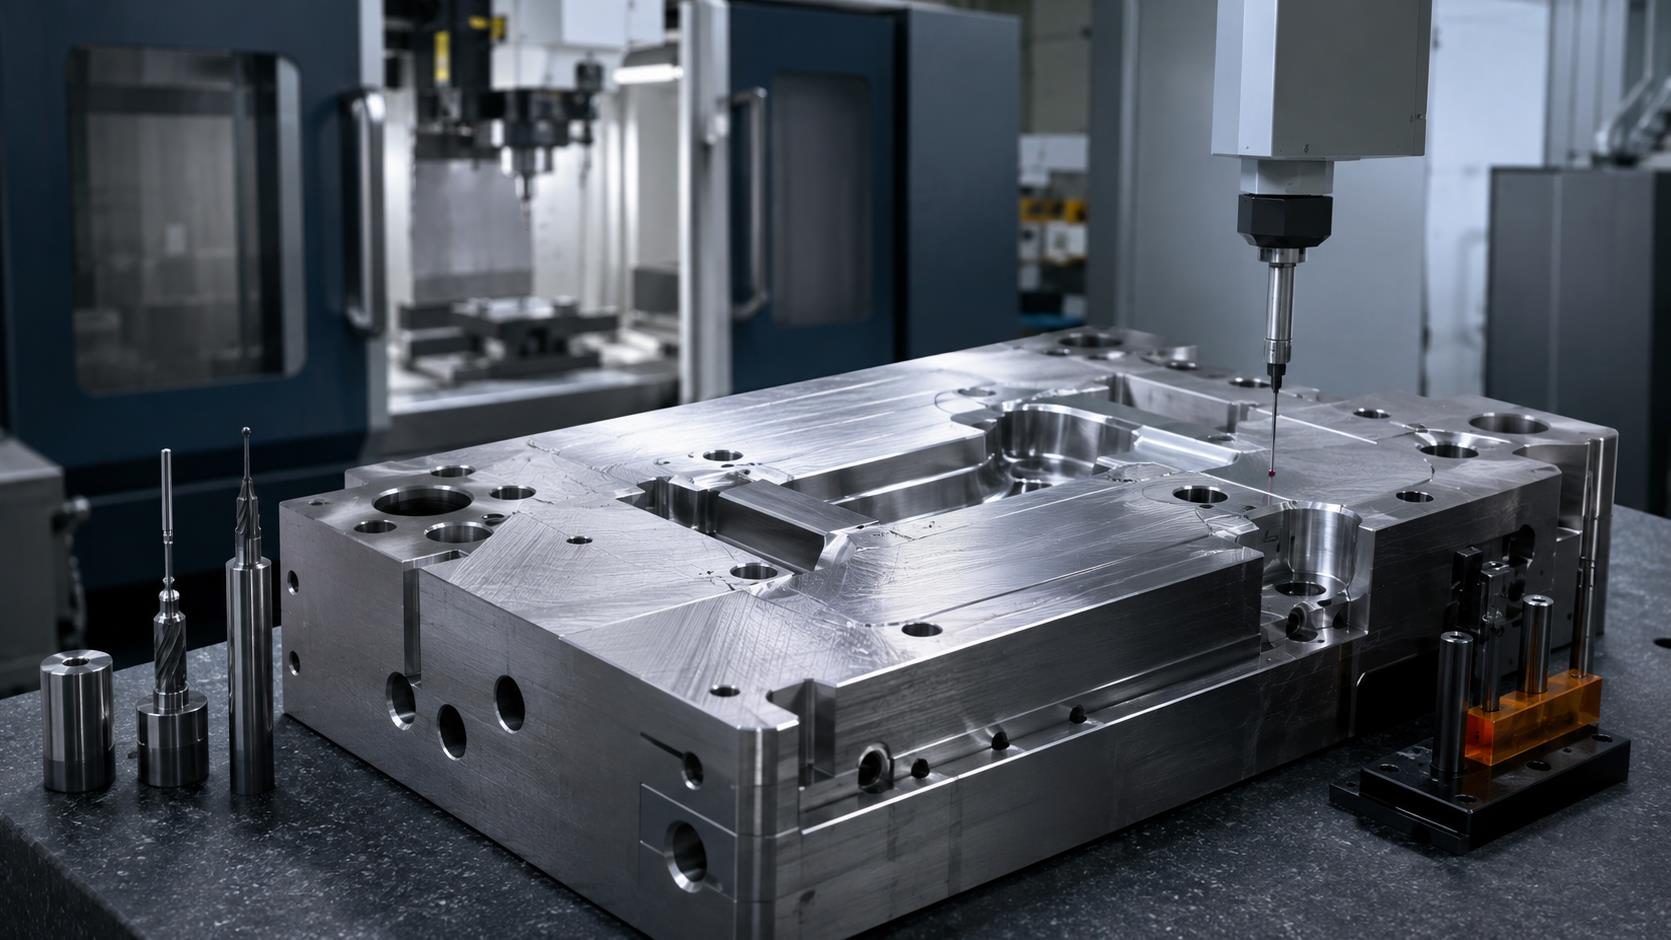
1. Precision Mold Manufacturing Starts with Design and Process
1.1 Design for Manufacturing
Good mold design simplifies complex structures where possible and creates a reliable manufacturing route without weakening mold function.
1.2 Use CNC Equipment Correctly
Advanced equipment alone is not enough. Toolpaths, sequencing, datums, workholding, inspection and quality management determine the final parting-surface accuracy.
2. Reach Thermal Stability Before Precision Finishing
For critical mold finishing, the source experience recommends operating the machining center for approximately three to four hours before final precision work. A thermally stable machine reduces small dimensional changes that can affect a high-precision mold parting surface.
3. Control Internal Stress and Mold Deformation
Cutting, deep-hole machining, grinding, EDM, wire EDM, welding, heating, cooling and clamping can introduce or redistribute internal stress. When accumulated stress exceeds local material rigidity, the component changes shape.
3.1 High-Risk Processes
Deep-hole machining, rough machining, grinding, EDM and welding require particular attention.
3.2 Relieve Stress
Use a verified heat-treatment process appropriate for the material grade and component condition.
3.3 Re-Machine After Movement
Once deformation stabilizes, restore geometry and datum accuracy through controlled re-machining.
4. Stress-Relief Heat Treatment
4.1 Steel Mold Components
The cited experience gradually heats steel to about 590 degrees C over 6 to 12 hours, holds for 2 to 6 hours and cools with the furnace. Total processing time is about 24 to 48 hours.
4.2 Aluminum Mold Components
The cited process gradually heats aluminum to about 290 degrees C within 6 hours, holds for 2 to 4 hours and cools with the furnace. Total time is about 24 hours.
5. Control Clamping Forces During Mold Machining
Apply clamping force evenly in multiple passes and a diagonal sequence. A tighten, loosen and re-tighten method may help where appropriate. The objective is secure workholding without bending a large mold plate or transferring setup distortion into the finished surface.
6. Why the Original Datum May Become Unreliable
A primary datum established before rough machining can deform as material is removed and internal stress releases. All features referenced from that changed surface may inherit error, affecting assembly, parting-surface contact, mold performance and service life.
7. Use Observation Surfaces to Monitor 3D Deformation
7.1 Select Representative Surfaces
Use several large inspection surfaces in different directions. Temporary surfaces may be added during roughing and removed during final machining.
7.2 Example Dimensions
For a 1000 x 800 x 300 mm component, the source suggests observation lengths of at least about 900, 600 and 260 mm. Small surfaces may not represent overall deformation.
8. Measure Deformation After Rough Machining
| Step | Action | Purpose |
|---|---|---|
| 8.1 | Measure and record every observation surface after rough machining. | Establish the clamped condition. |
| 8.2 | Release clamping force without moving the workpiece on the table. | Allow setup and machining stress to relax. |
| 8.3 | Measure the same surfaces again. | Quantify released deformation. |
| 8.4 | Compare both data sets. | Plan re-clamping, correction and subsequent machining. |
9. Re-Clamp and Correct the Datum System
9.1 Establish a Transitional Datum
Re-clamp with only enough force to prevent movement, then lightly machine the observation surfaces so they can serve as a reliable secondary reference.
9.2 Correct the Primary Datum
Turn, support and level the workpiece correctly before machining the original datum again. Poor support can introduce new flatness and material-removal errors.
9.3 Recheck After Stress Relief
Re-machine the primary datum, return the component close to its previous location and inspect the observation surfaces for setup-induced error.
10. Semi-Finish, CMM Inspection and Final Machining
10.1 Semi-Finish and Inspect
Verify geometry and dimensional relationships after semi-finishing. Do not pass unacceptable deformation into final precision machining.
10.2 Preserve Parting-Surface Allowance
Do not machine the mold parting surface to final size too early. Reserve controlled allowance for the final operation.
10.3 Establish the True 3D Datum
Use CMM inspection to measure the cavity datum and maintain a consistent datum concept across design, machining and inspection.
10.4 Perform Final CNC Machining
Use measured datum data for the final precision pass so the surface is corrected by machining rather than manual polishing.
11. Precision Mold Machining Process Summary
The process systematically controls internal stress, workpiece deformation, clamping distortion, datum changes, machining allowance, machine thermal stability and final CNC accuracy.
12. Benefits of Eliminating Hand Polishing
12.1 Better Consistency
A controlled CNC process is more repeatable than manual correction dependent on individual technique.
12.2 Improved Accuracy
Machining and CMM verification preserve designed geometry and datum relationships.
12.3 Reliable Quality Control
Measured datums and recorded inspection results are easier to verify and document.
Precision Mold Machining FAQ
Can a mold parting surface be finished without hand polishing?
Yes, when design, thermal stability, stress relief, clamping, datum correction, CMM inspection and final CNC machining are controlled as one process.
Why does a mold datum change after rough machining?
Material removal and clamping can release or redistribute internal stress, causing the workpiece and original datum to deform.
Why are observation surfaces important?
They provide measurable references for comparing deformation before and after clamping force is released.
Why leave allowance on the parting surface?
Allowance preserves material for a final CNC correction after stress relief, datum restoration and CMM inspection.
Need Precision Mold Components?
Zentoc provides precision CNC machining, mold component manufacturing and controlled inspection for demanding applications.
Contact Zentoc