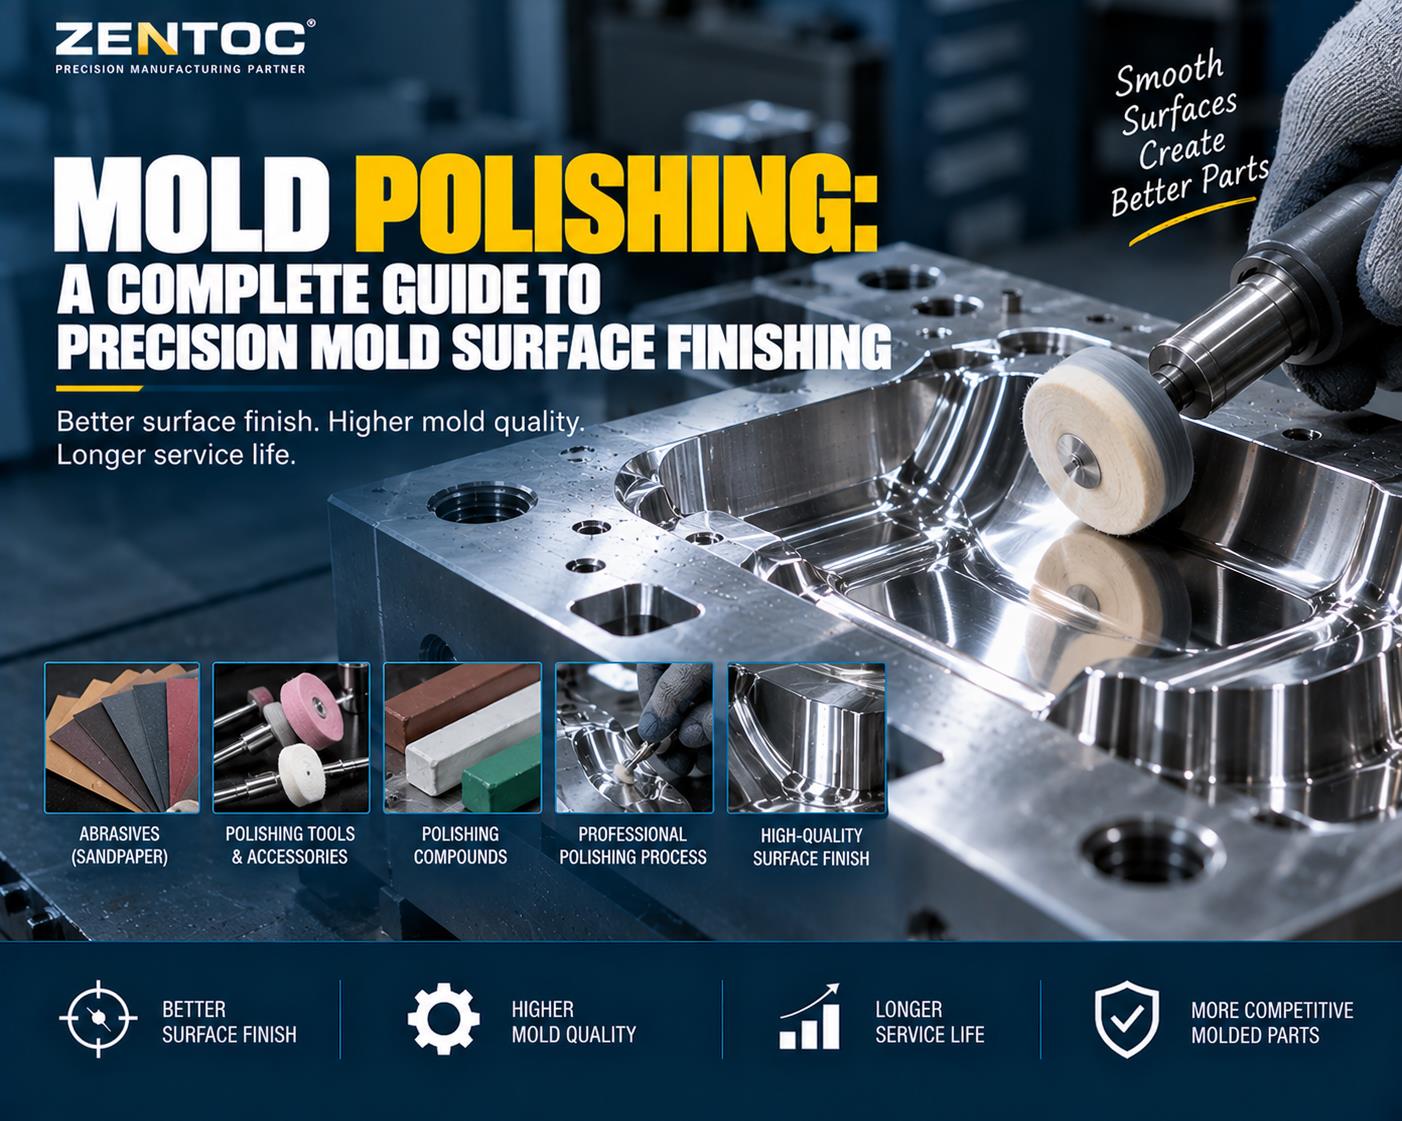
Precision mold polishing improves mold surface finish, service life and the appearance of molded products. A high-quality polished surface depends on more than visual smoothness: abrasive selection, polishing sequence, mold steel, heat treatment, cleanliness, pressure and operator skill all influence the result.
This guide explains mold polishing tools, rough-to-mirror finishing processes, environmental controls and solutions for orange peel, pitting and over-polishing.
1. Mold Polishing Methods and Working Principles
Oilstones, sandpaper, felt wheels and polishing compounds remove microscopic peaks and produce controlled plastic deformation at the surface. Conventional mold polishing is mainly manual.
Ultra-precision lapping uses a specialized tool rotating in an abrasive polishing fluid. The referenced process reports surface roughness as low as Ra 0.008 micrometers when the correct sequence progressively removes scratches from every preceding stage.
2. Common Mold Polishing Tools and Abrasives
| Tool or Abrasive | Common Grades or Forms | Main Use |
|---|---|---|
| Sandpaper | 150, 180, 320, 400, 600, 800, 1000, 1200 and 1500 grit | Progressive scratch removal and semi-fine finishing |
| Oilstones | 120, 220, 400 and 600 grit | Machining-mark removal and surface correction |
| Felt wheels | Cylindrical, conical and square-pointed | Support for diamond compounds during fine polishing |
| Polishing compounds | Grades 1, 3, 6, 9, 15, 25, 35 and 60 | Fine and mirror polishing |
| Files | Square, round, flat, triangular and special profiles | Localized geometry correction |
| Diamond grinding points | 3/32-inch or 1/8-inch shanks; round, cylindrical and conical shapes | Hard surfaces and difficult geometry |
| Bamboo sticks | Custom-shaped supports | Controlled sandpaper pressure in local areas |
| Fiber stones | 200 black, 400 blue, 600 white and 800 red | Fine finishing in narrow or detailed regions |
3. Precision Mold Polishing Process
3.1 Rough Polishing
Remove milling, EDM and grinding marks and establish a uniform foundation.
3.2 Semi-Fine Polishing
Use progressively finer sandpaper to remove oilstone scratches and refine texture.
3.3 Fine Polishing
Use diamond compounds, cloth and felt to achieve a high-grade mirror finish.
4. Rough Polishing
Precision-milled, EDM or ground surfaces may first be treated with a rotary polisher at approximately 35,000-40,000 r/min. Manual strip-oilstone polishing then uses kerosene as lubricant or coolant.
The objective is to remove machining marks without creating deep new scratches or changing critical mold geometry.
5. Semi-Fine Polishing
Semi-fine polishing mainly uses sandpaper with kerosene.
The referenced process uses 1500-grit paper primarily on hardened mold steel above 52 HRC. It does not recommend that grade for pre-hardened steel because it may damage the surface and prevent the expected finish.
6. Fine and Diamond Polishing
| Stage | Diamond Size | Approximate Equivalent | Purpose |
|---|---|---|---|
| Initial diamond polishing | 9 micrometers | 1800 grit | Remove fine scratches from 1200-1500 grit paper |
| Intermediate polishing | 6 micrometers | 3000 grit | Refine the surface texture |
| Fine polishing | 3 micrometers | 8000 grit | Prepare for mirror finishing |
| Mirror polishing | 1 micrometer | 14,000 grit | Develop a high-gloss finish |
| High mirror polishing | 0.5 micrometer | 60,000 grit | Remove extremely fine haze and scratches |
| Ultra-fine mirror polishing | 0.25 micrometer | 100,000 grit | Achieve the finest referenced finish |
7. Mold Polishing Environment
7.1 Separate Rough and Fine Areas
Coarse abrasive particles can destroy a fine finish, so rough and high-grade polishing should use separate work areas.
7.2 Clean Between Every Stage
Remove the previous abrasive completely from the workpiece, tools and operator's hands before changing grit.
7.3 Use a Clean Polishing Room
After roughly 1200-grit finishing, transfer the part to a dust-free area. Polishing at 1 micrometer and finer requires increasingly strict cleanliness.
7.4 Protect Finished Surfaces
Remove abrasive and lubricant when work stops, protect the surface from dust and apply a suitable rust-preventive coating.
8. Factors Affecting Mold Polishing Quality
8.1 Initial Surface Condition
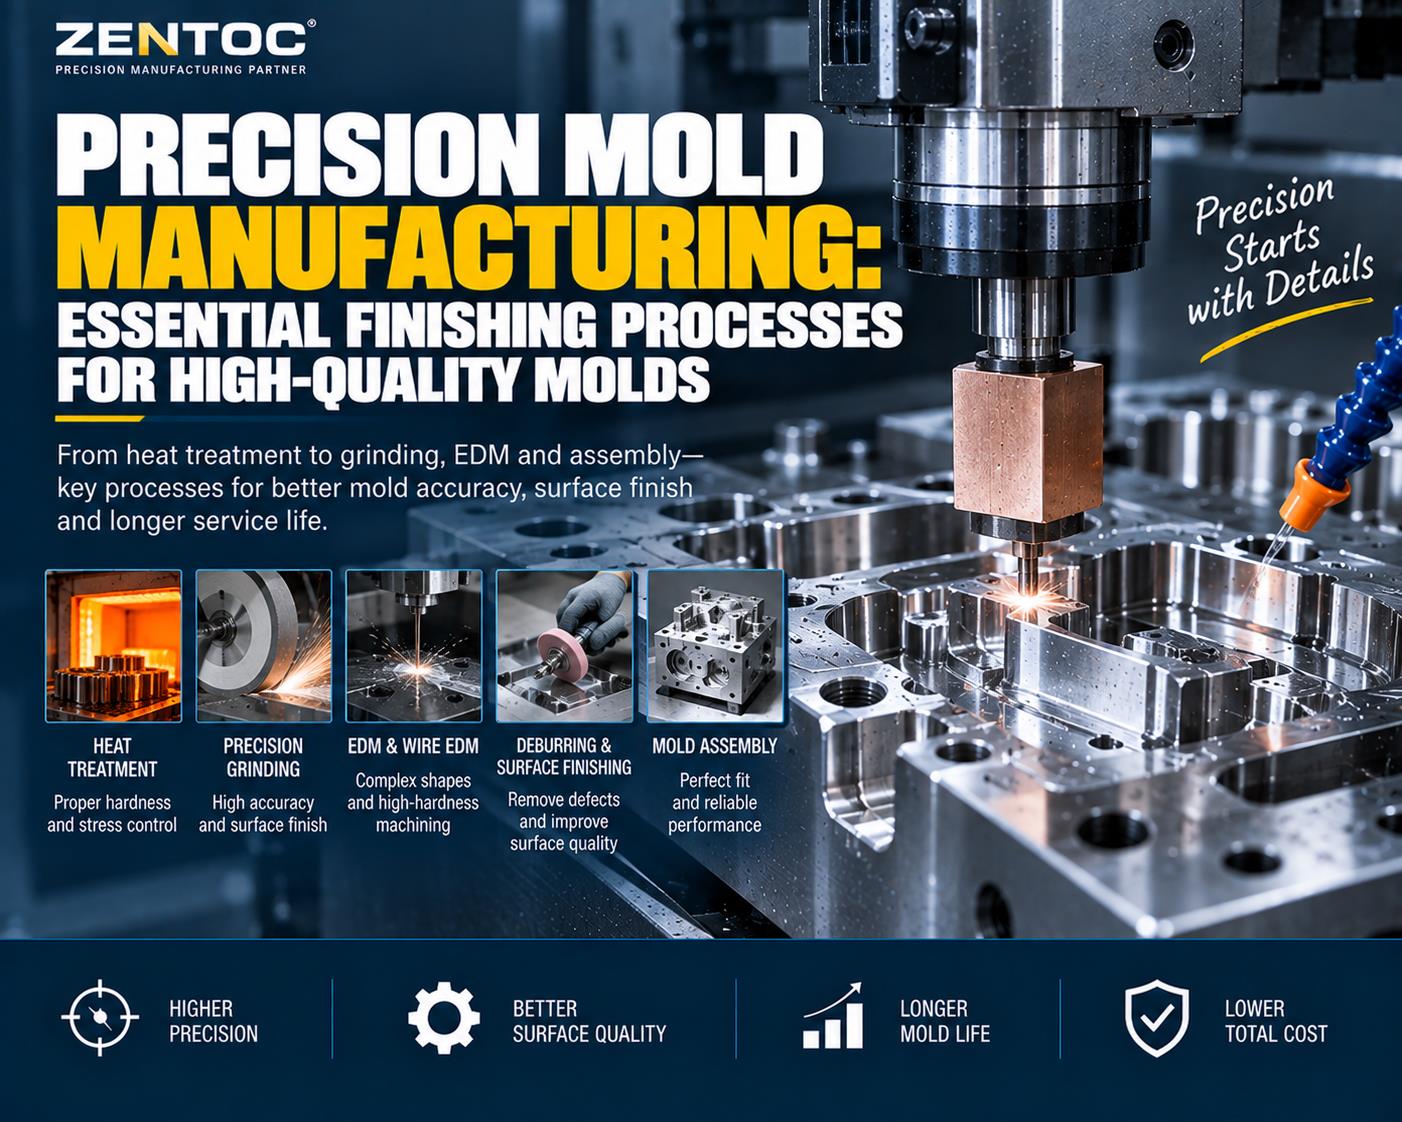
Heat, residual stress and poor machining parameters make later polishing difficult. EDM surfaces should receive suitable fine finishing and the hardened altered layer should be removed.
8.2 Mold Steel Quality
Inclusions and pores limit mirror quality. Specify polishability early and select clean steel suitable for the required finish.
8.3 Heat Treatment
Uneven hardness and inconsistent material properties from poor heat treatment cause nonuniform polishing response.
8.4 Operator Skill
Technique remains important, but cannot compensate for poor steel, improper heat treatment or a damaged starting surface.
9. Sandpaper, Oilstone and Diamond Polishing Precautions
9.1 Clean Before Changing Grit
Wash the component, tools and hands so coarse grains cannot contaminate the next stage.
9.2 Change Polishing Direction
Polish each grit at a different 45-degree direction until previous scratches disappear, then continue about 25% longer.
9.3 Use Light Diamond Pressure
Apply light pressure, especially on pre-hardened steel and with fine compound. The referenced 8000-grit process uses about 100-200 g/cm2.
9.4 Match Tool Shape
Shape oilstones, bamboo supports and felt tools to the mold geometry to avoid rounding edges or changing form.
10. Plastic Mold Mirror Finish Grades
Plastic mold mirror polishing requires surface roughness, flatness, smoothness and geometric accuracy, not gloss alone.
| Mirror Finish Grade | Surface Roughness |
|---|---|
| A0 | Ra 0.008 micrometers |
| A1 | Ra 0.016 micrometers |
| A3 | Ra 0.032 micrometers |
| A4 | Ra 0.063 micrometers |
In the referenced process, mechanical polishing remains the primary method because some electrolytic, fluid, chemical, ultrasonic and magnetic processes make geometry or required finish difficult to control.
11. Practical Plastic Mold Polishing Tips
11.1 Inspect and Clean First
Clean the new cavity with kerosene so contamination does not clog the oilstone or reduce cutting action.
11.2 Work Difficult Areas First
Remove coarse marks in deep corners and restricted areas before polishing side walls and large flat surfaces.
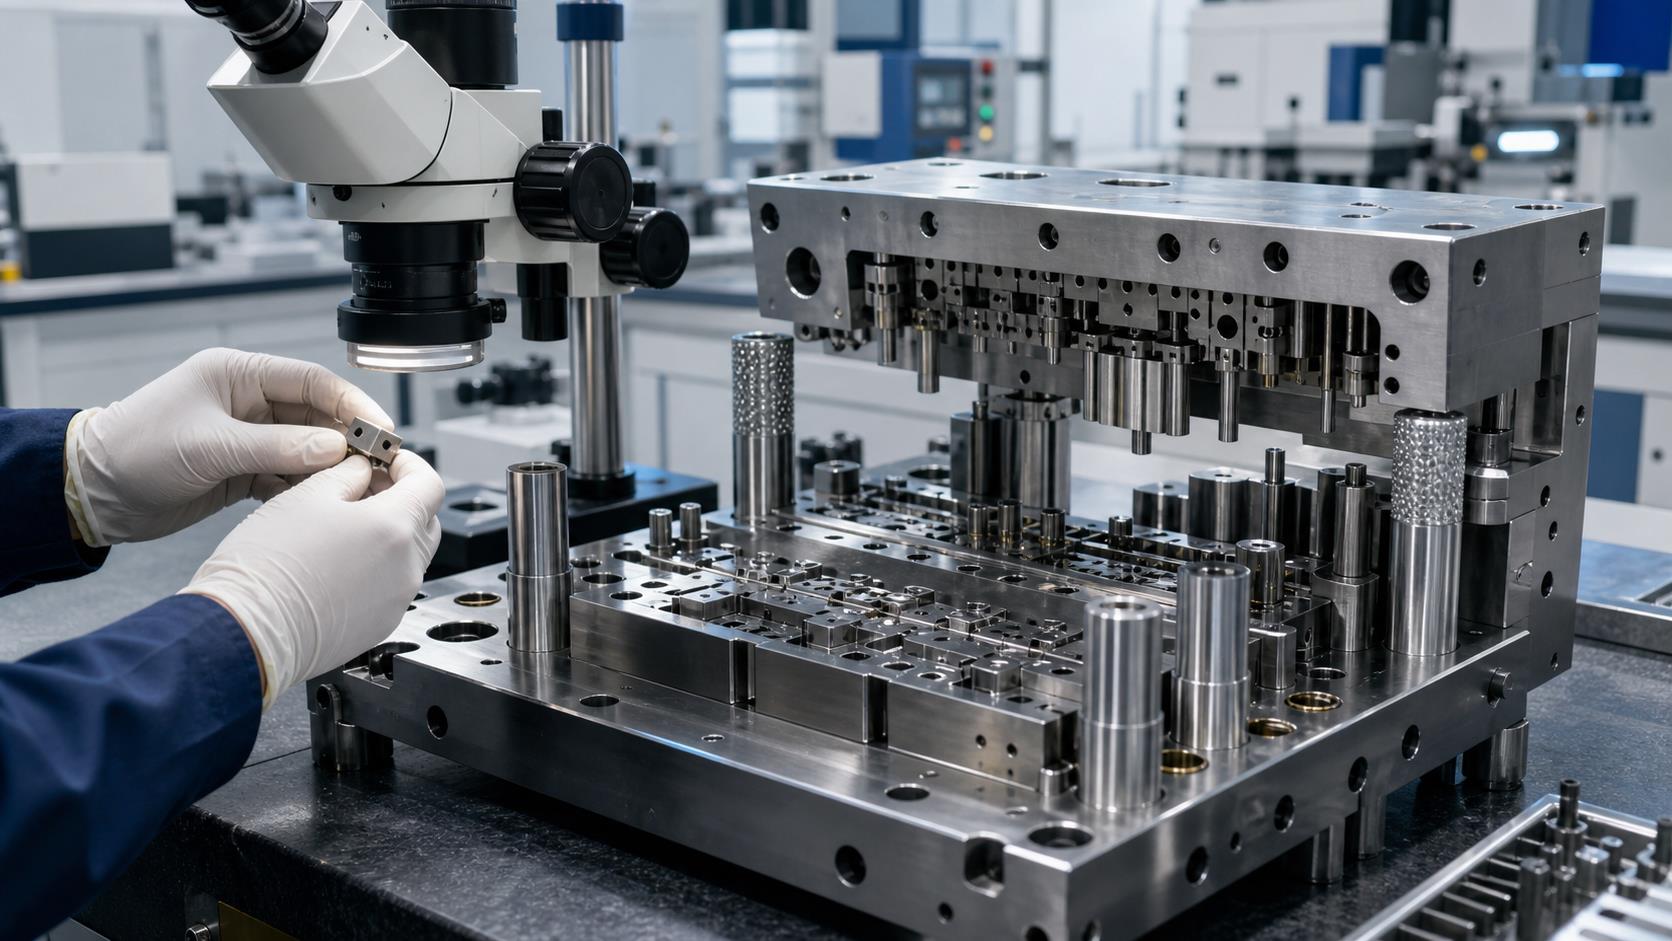
11.3 Polish Assemblies Together
Remove coarse marks from individual parts, assemble them, then polish together where a smooth transition is required.
11.4 Inspect Flatness
Use a straight steel plate and light-gap inspection to identify uneven surfaces or undercuts that may affect ejection.
11.5 Protect Adjacent Surfaces
Use a saw blade or sandpaper barrier where mating surfaces could be damaged or undercut accidentally.
11.6 Keep Supports Flat
Keep the oilstone handle below about 25 degrees on flat surfaces. Sandpaper should not extend beyond its copper or bamboo support.
12. Over-Polishing and Orange Peel
Over-polishing means surface quality becomes worse as polishing continues. The most common forms are orange peel and pitting.
12.1 Causes of Orange Peel
Overheating, excessive carburization, excessive pressure and overly long polishing time can create an irregular orange-peel surface. Softer steels are generally more sensitive.
12.2 How to Remove Orange Peel
Regrind with an abrasive slightly coarser than the previous one, then restart with lower pressure. Stress relief at 25 degrees C below tempering temperature may also be considered before careful repolishing.
13. Pitting Causes and Prevention
Hard, brittle nonmetallic inclusions may be pulled from the steel during polishing and leave microscopic pits.
| Main Cause | Recommended Response |
|---|---|
| Excessive polishing pressure | Use the lowest practical pressure |
| Excessive polishing time | Use the shortest time needed to remove previous scratches |
| Poor steel cleanliness or hard inclusions | Select higher-quality polishable mold steel |
| Rust or unremoved scale | Clean and regrind the surface before polishing |
| Existing pits | Regrind with a slightly coarser abrasive and use a soft, sharp oilstone for final preparation |
When the abrasive particle size is below 1 mm, the referenced process advises against using the softest polishing tools. Control pressure and time to reduce inclusion pullout.
Conclusion
Precision mold polishing requires a controlled sequence from rough mark removal through sandpaper, diamond compound and mirror finishing. Surface preparation, mold steel quality, heat treatment, cleanliness, polishing pressure, environment and operator skill all influence the result.
Following the correct abrasive sequence and preventing orange peel, pitting, scratches and over-polishing improves mold surface quality, service life and molded-part appearance.
Precision Mold Polishing FAQ
What surface roughness can precision mold polishing achieve?
The referenced ultra-precision process reports surface roughness as low as Ra 0.008 micrometers.
Why must the polishing direction change between grits?
Changing direction makes scratches from the previous stage easier to identify and helps prevent waviness.
What causes orange peel during mold polishing?
Common causes include overheating, excessive pressure, long polishing time and unsuitable material condition.
What causes pitting on a mirror-polished mold?
Pitting often occurs when hard inclusions are pulled from the steel, especially under excessive pressure or prolonged polishing.
Why must rough and fine polishing be separated?
Coarse abrasive contamination can scratch or destroy a fine mirror-polished surface.
Need Precision Mold Components?
Zentoc provides precision CNC machining, EDM and custom mold component manufacturing.
Contact Zentoc