Becoming an experienced CNC machinist requires more than operating a machine or generating toolpaths. Tool selection, workholding, machining sequence, remaining stock, corner cleanup and finishing parameters all influence accuracy, surface finish, tool life and production efficiency.
This guide summarizes practical shop-floor techniques for CNC roughing, semi-finishing, finishing, electrode work and datum control. The central principle is to plan every operation with the next machining step in mind.
1. General Principles of CNC Toolpath Planning
CNC Roughing
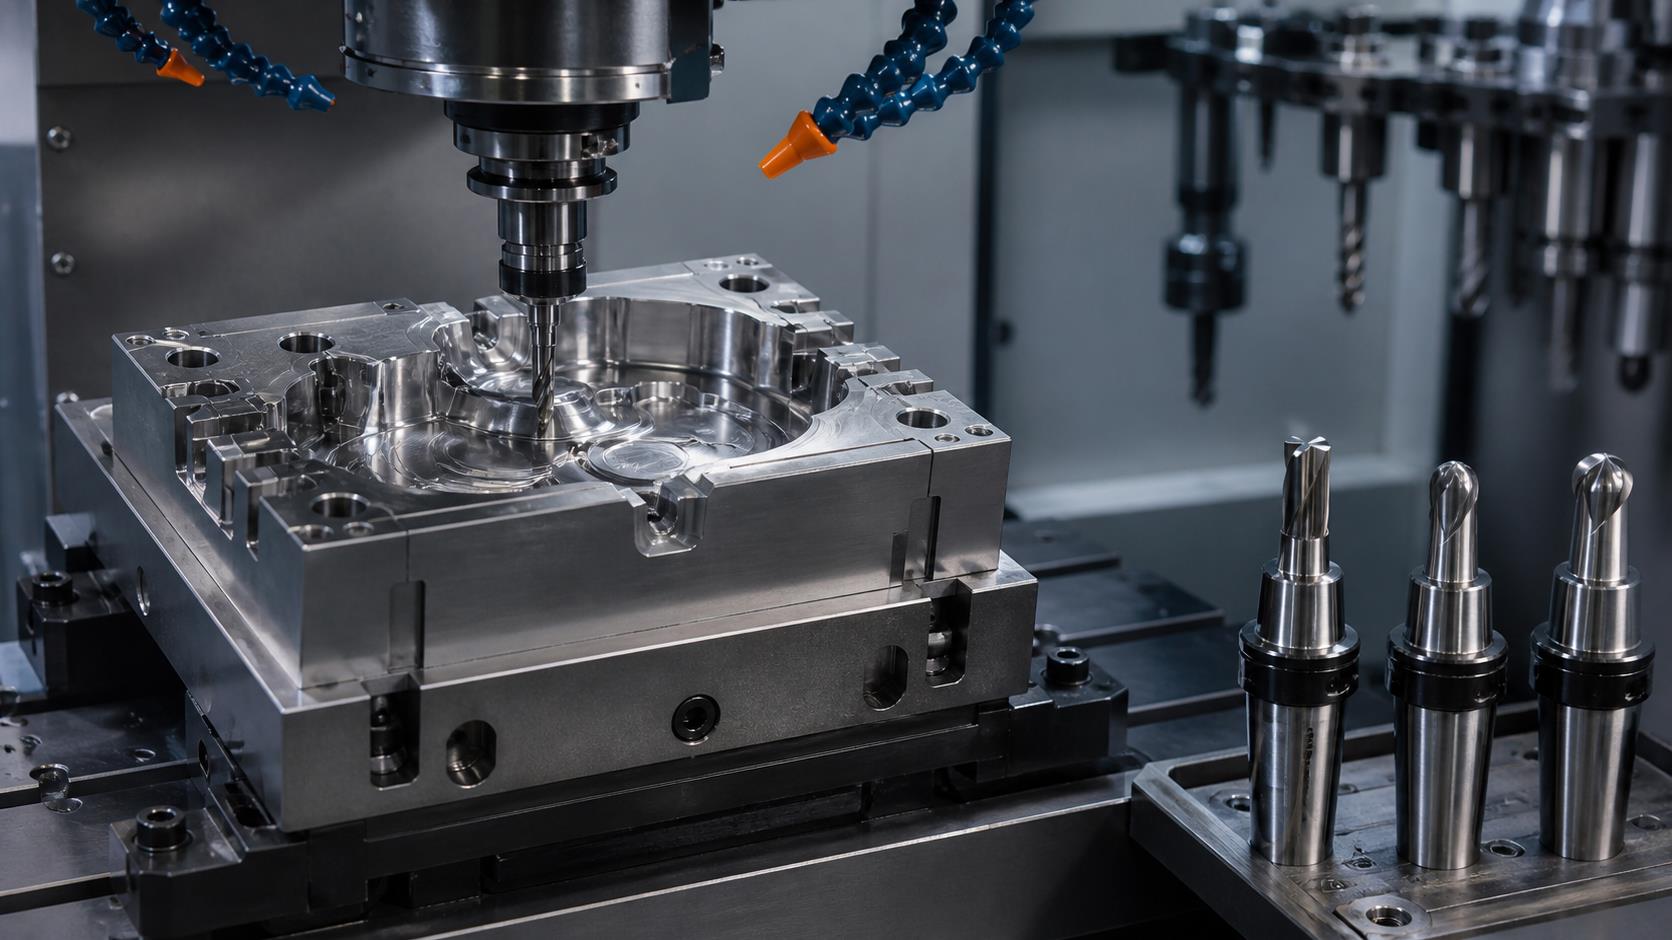
Remove material efficiently within the machine and setup load capacity. Use the largest practical cutter, suitable depth of cut and highest stable feed. Check whether small 2D corners or 3D radii require a smaller follow-up tool.
CNC Finishing
Target dimensional accuracy and surface quality with the minimum necessary remaining stock. Use the largest suitable tool, appropriate spindle speed, stable feed and a stepover matched to geometry and finish.
2. CNC Workholding and Clamping Methods
| Method | Practical guideline | Best use |
|---|---|---|
| Machine vise | Use at least about 10 mm clamping height where practical. Keep the machining region about 5 mm above the vise surface. | Rectangular small and medium components |
| Fixture plate | Bolt the plate to the table and secure the workpiece to the plate. | Low clamping height, medium and large parts, higher cutting forces |
| Clamp irons | For two-stage access, secure new side clamps before releasing corner clamps. | Large parts that cannot be held conventionally |
| Tool clamping | For cutters 10 mm or larger, use about 30 mm clamping length; for smaller cutters, use about 20 mm where tool design permits. | Reducing movement, pullout and collision risk |
3. CNC Cutting Tool Types and Applications
| Tool or geometry | Typical application | Key consideration |
|---|---|---|
| HSS tool | Copper electrode roughing and smaller steel parts | Tough and economical but wears faster than carbide in many applications |
| Carbide tool | Steel corner cleanup and finishing | Requires suitable rigidity, runout and cutting parameters |
| Flat end mill | Flat floors, vertical walls and 2D corner cleanup | Choose diameter according to smallest accessible feature |
| Ball nose end mill | Semi-finishing and finishing curved surfaces | Surface speed approaches zero at the tool center |
| Bull nose end mill | Steel roughing and radiused internal geometry | Corner radius increases edge strength |
| Roughing end mill | High-efficiency stock removal | Leave controlled allowance for later operations |
| Tapered-shank tool | Selected deep or restricted areas | Avoid interference with walls whose angle is smaller than the shank taper |
Two-, three-, four- and multi-flute tools create different chip spaces and cutting loads. Adjust spindle speed and feed according to tool diameter, flute count, material and engagement.
4. Ball Nose End Mills vs. Fly Cutters
Ball Nose End Mill
Well suited to freeform surfaces and complex curvature. It cannot enter a concave feature or bottom corner smaller than its effective geometry.
Fly Cutter
Can finish selected bottom corners and may create a bright surface at high effective cutting speed. It is often useful for constant-Z finishing but cannot reach features smaller than its effective diameter.
5. When Should You Use Copper Electrodes?
In mold manufacturing, EDM becomes valuable when direct milling cannot reach a feature efficiently, safely or with the required texture.
Inaccessible Geometry
Use an electrode when the cutter or holder cannot physically reach the required surface.
High Breakage Risk
EDM may be more reliable when a very small or long tool would have insufficient rigidity.
Texture or Profile
Electrodes can produce specified EDM texture, precise profiles and uniform surfaces on difficult geometry.
6. Basic Guidelines for Copper Electrode Design
Identify EDM Surfaces
Determine exactly which product surfaces need electrical-discharge machining.
Build Complete Coverage
Extend or repair surfaces so the electrode covers the machining region without contacting protected geometry.
Define Stock and Reference
Establish the maximum outline, reference frame, base projection and dimensions before preparing copper stock.
The blank must include enough length, width and height for the electrode form, datum base, spark allowance and secure clamping.
7. CNC Workpiece Datum and Zero Setting
No Existing Reference
Locate the workpiece center in X and Y and establish Z from the appropriate top surface. For an uneven copper top, about 0.1 mm allowance may be retained according to the process plan.
Existing Machined Surface
Use a qualified machined surface as the datum where appropriate and verify actual stock dimensions against the drawing before programming.
For multiple setups, create reliable reference surfaces in the first operation and reuse those references later. This maintains positional consistency between faces and features.
8. CNC Roughing Toolpath Selection
| Strategy | Suitable use | Programming note |
|---|---|---|
| Surface pocketing | General 3D material removal | Select boundaries and surfaces so all accessible material is removed between the highest and lowest levels. |
| Planar pocketing | Flat areas and recessed floors | At open edges, extend the boundary beyond half the cutter diameter where necessary. |
| Contour toolpaths | Layered walls and suitable profiles | Minimize unnecessary retracts and non-cutting Z movement. |
| Constant-Z contouring | Steep and closed surfaces | Open surfaces may require additional boundaries or prepared extension surfaces. |
| Surface flowline | Smooth finishing on suitable surfaces | Provides consistent motion and may replace constant-Z in selected areas. |
| Radial toolpaths | Geometry around a large central opening | Verify center behavior, engagement and boundary control. |
Before finishing, remove stock from small 2D and 3D corners and previously blocked areas. Excess material can overload or break the finishing cutter.
9. CNC Corner Cleanup Techniques
Corner cleanup removes stock that larger tools cannot reach. For very small and deep corners, use a sequence of progressively smaller tools instead of asking one fragile cutter to remove a large volume.
2D Corners
Clean these before final finishing when the finishing path must pass through the region. Use suitable contour or pocket operations.
3D Corners
Small grooves and complex transitions may need dedicated parallel, contour or constant-Z operations.
Risk Control
Limit overhang, Z-depth and remaining stock for small tools. Temporarily block unsafe areas and machine them separately.
10. CNC Semi-Finishing
Semi-finishing removes uneven stock left by large roughing tools so the final cutter encounters a consistent load. It is especially useful for steel curved surfaces and precision electrode machining.
Efficient Parameters
Relatively high feed
Larger stepover
Large cutter or fly cutter
Fast removal without final-finish expectations
When It Matters Most
Harder materials and strongly varying roughing stock make semi-finishing more valuable. Where appropriate, machine in a direction different from the previous roughing pass to equalize remaining stock.
11. CNC Finishing Strategies for Better Surface Quality
Separate surface types: use appropriate strategies for flat, steep and shallow curved areas.
Protect finished surfaces: define boundaries, height ranges and check surfaces carefully.
Extend beyond edges: add a small overtravel with smooth arc lead-in and lead-out moves to reduce boundary marks.
Minimize retracts: reduce unnecessary lift movements without compromising collision safety.
Control the first entry: enter from outside the workpiece whenever geometry allows.
Manage allowances: avoid sudden engagement changes at intersections and corner transitions.
Monitor tool wear: a large component may require multiple finishing tools to keep texture and dimensions consistent.
Frequently Asked Questions
Why is the largest practical cutter usually preferred?
A larger cutter is generally more rigid, can remove material efficiently and may support better surface consistency. It still must fit the smallest required feature and avoid holder interference.
Why should semi-finishing be used before final finishing?
It creates a more uniform stock condition, reducing cutting-load variation, tool deflection and premature wear during the final pass.
When is EDM better than direct CNC milling?
EDM is useful for inaccessible features, very small internal details, high tool-breakage risk, specified EDM textures and complex mold geometry.
How can marks at surface edges be reduced?
Extend the finishing path slightly beyond the edge and use smooth lead-in and lead-out moves while protecting adjacent finished surfaces.
Need Experienced CNC Machining Support?
Zentoc provides precision CNC machining, mold component manufacturing and custom production support for complex metal parts.
Contact Zentoc